Introduction
Transistors allow a small electrical current to control a larger one. They are used as electrically-controlled switches or amplifiers. When using microcontrollers, you sometimes need to control devices that need more electrical current than a microcontroller can provide. Common examples include motors, solenoids and LED strips. In addition, sometimes you need to amplify weak signals coming from certain kinds of sensors such as piezos and touch sensors. In this lab, you’ll learn how to use a transistor to control a high-current DC load from a DC motor with your Arduino microcontroller. You will also use a transistor amplify a piezo vibration sensor and read with your Arduino’s analog input.
What You Will Need to Know
To get the most out of this lab, you should be familiar with the following concepts beforehand. If you’re not, review the links below:
Items You Will Need
Arduino microcontroller 
2n3904 transistor 
Breadboard 
vibrating motor 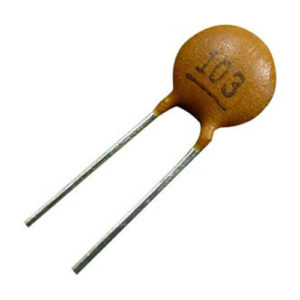
Capacitor (10nf or “103”) 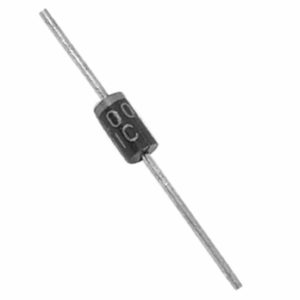
Diode (1n4001 or similar) 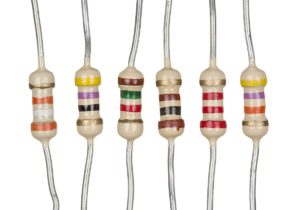
Resistors (various) 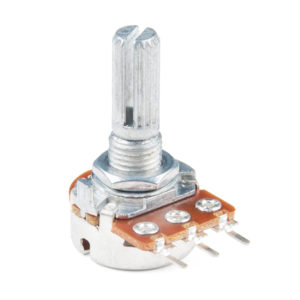
Potentiometer (1M)
Safety Warning
This lab shows you how to control high-current loads. This comes with a higher danger of injury from electricity than other labs. Please be careful and double-check your wiring before plugging anything in, and never change your wiring while your circuit is powered.
A Quick Overview of Transistors
There are several types of transistors and they come in two major classes: bipolar junction transistors or BJTs and field-effect transistors or FETs & MOSFETs (MOS = Metal oxide semiconductor). All transistors have some similar properties though:
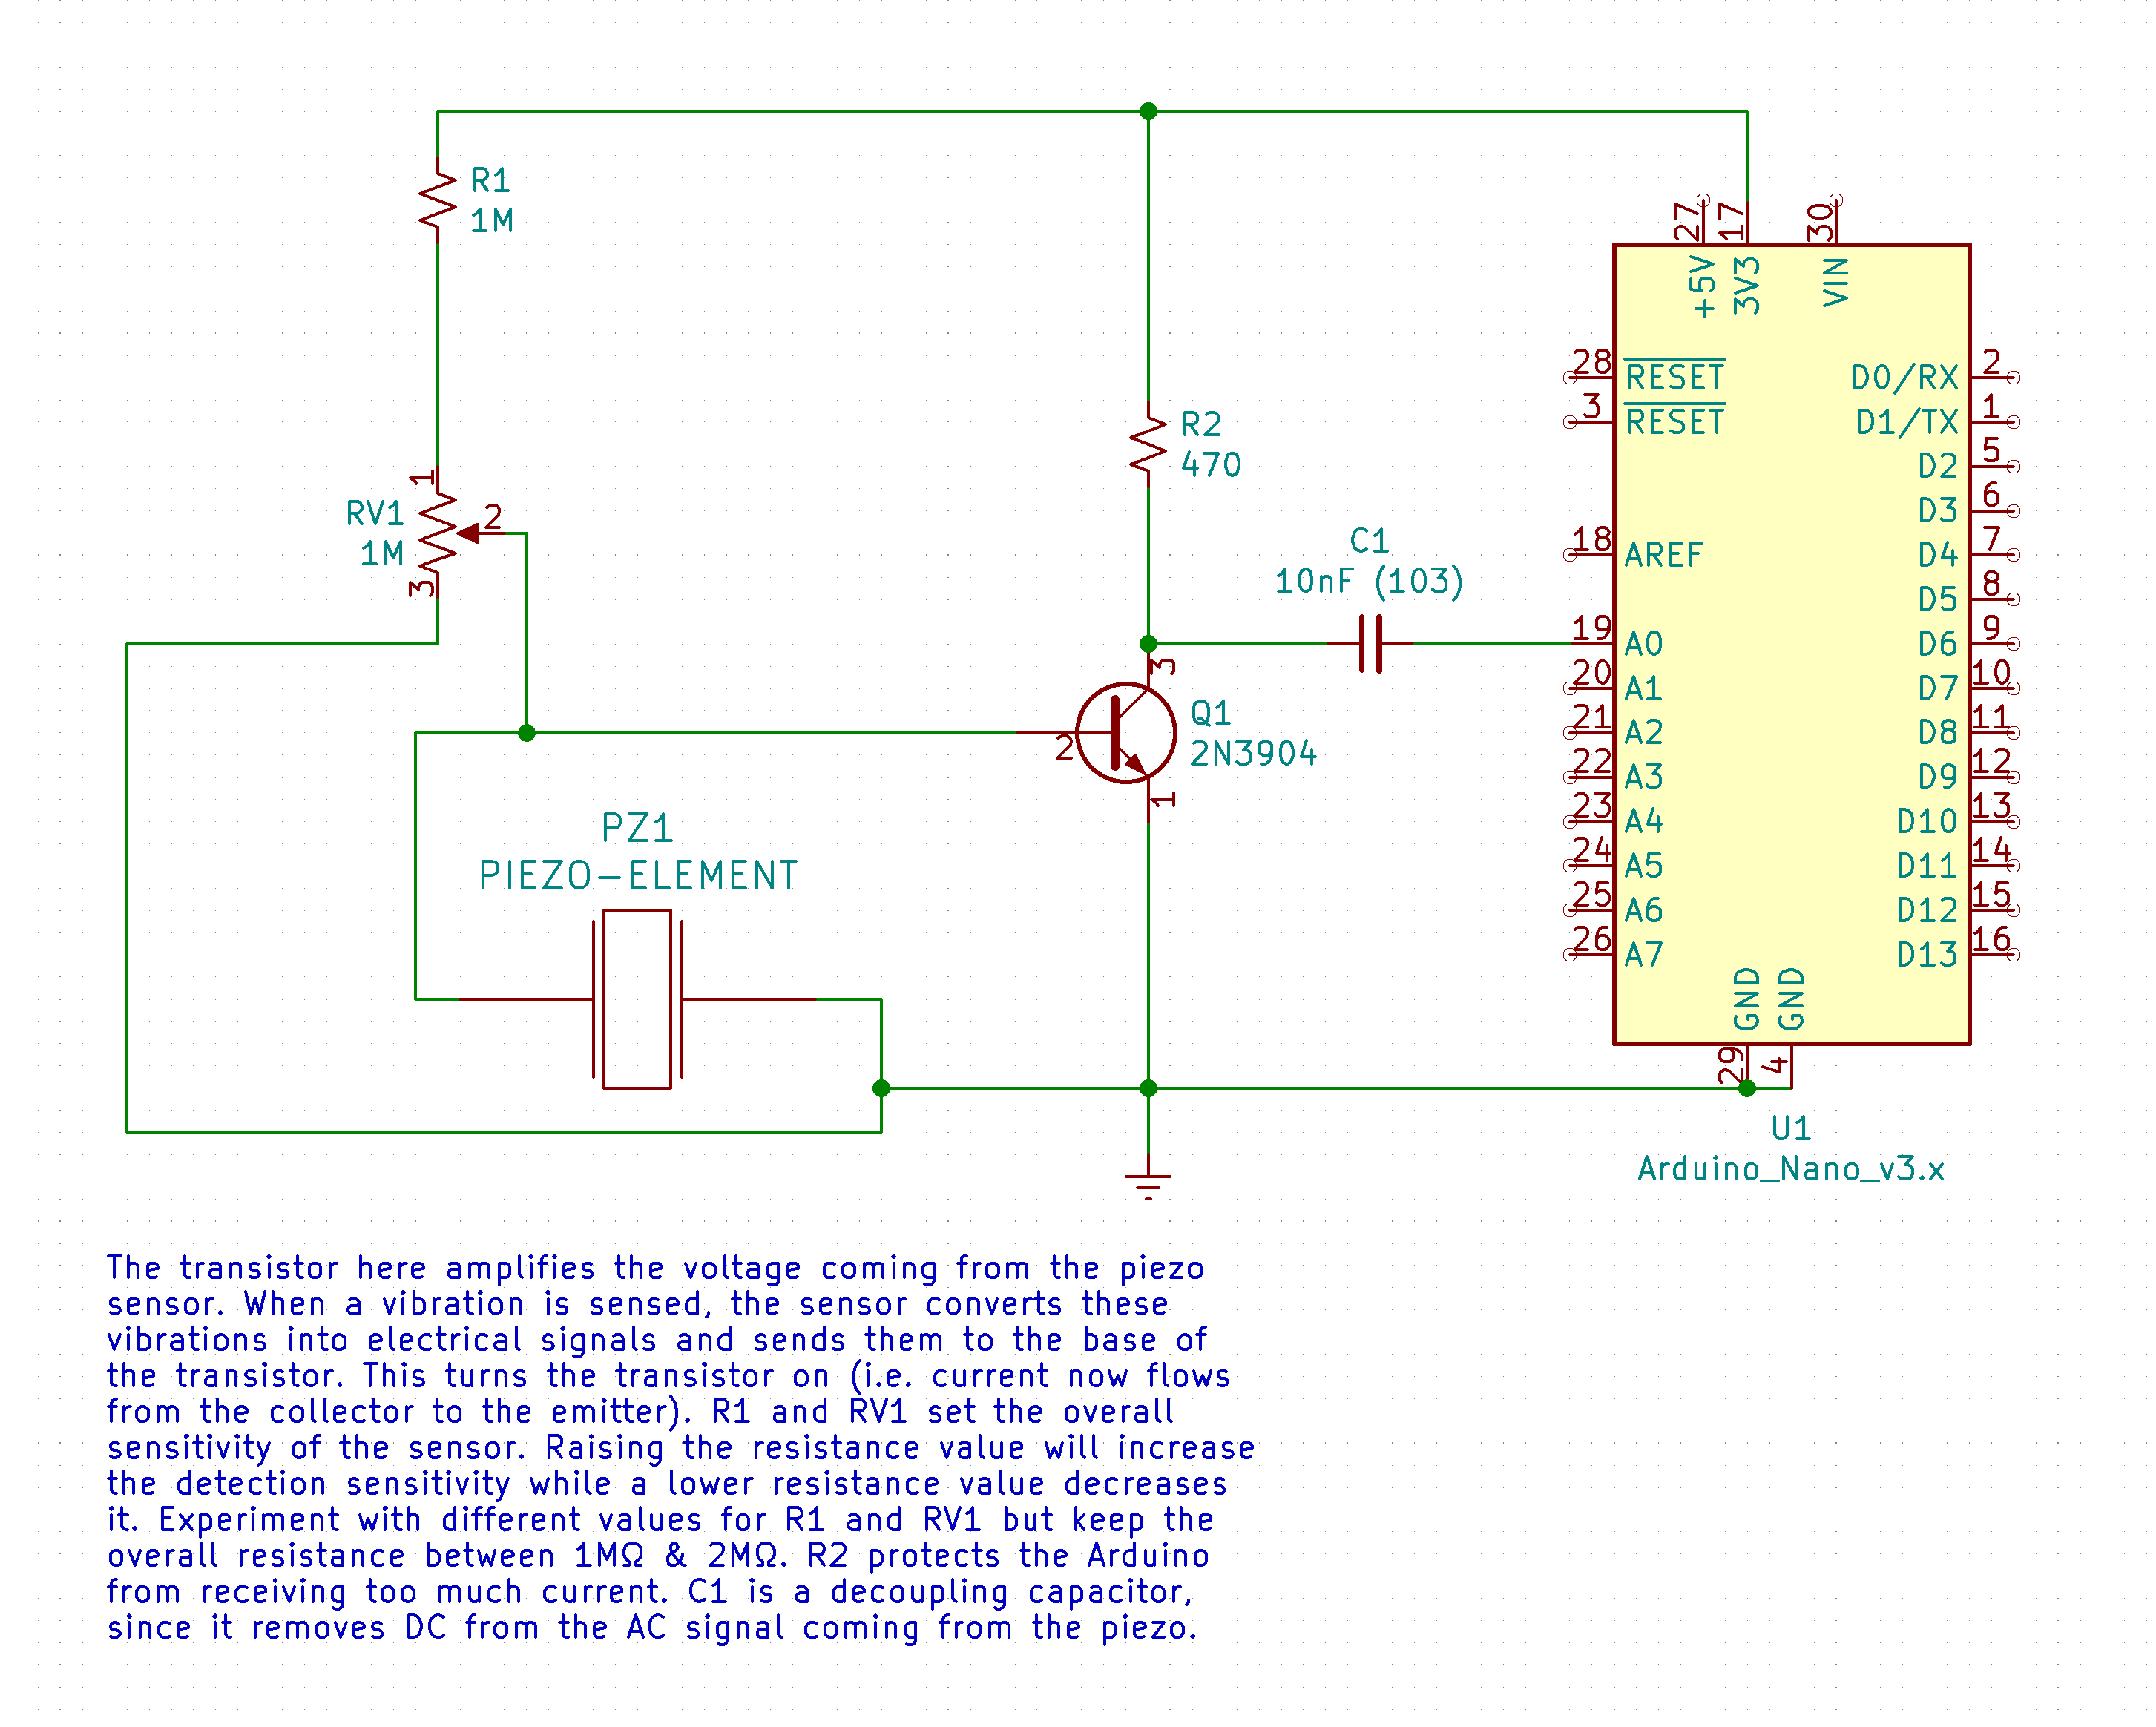
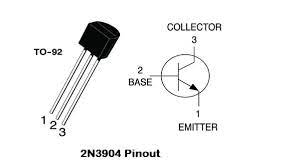
three connections: emitter-base-collecter (source-gate-drain on FETs). The basic idea is that a small voltage between the base and the emitter (or the gate and the drain on a FET), allows a larger current to flow. The transistor we are using in this lab is the 2n3904 bipolar junction transistor. The pin configuration is as shown: from left to right (1,2,3) emitter, base collector. The base is where the transistor is controlled. A small voltage from your Arduino into the base, will allow current to flow from the collector to the emitter.
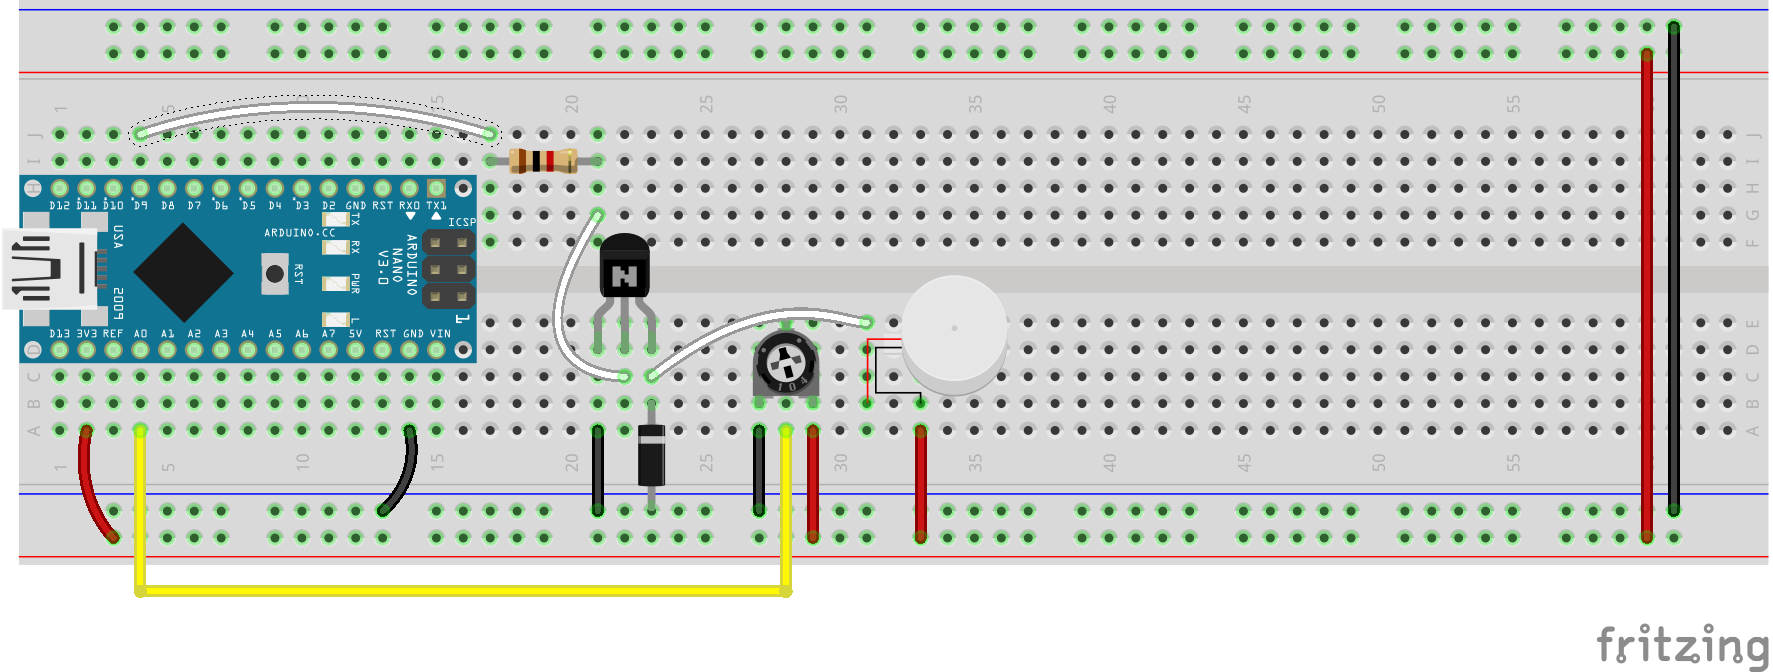
Controlling DC Motor
Wire up the circuit below

Amplifying a Signal from a Piezo Sensor
This circuit improves upon the “knock sensor” tutorial from the Arduino web site to make an “Ultra-sensitive Knock Sensor”