Introduction
In this lab, you’ll learn how to blink the Arduino built-in LED, connect your own LEDs, fade an LED and experiment with different blinking patterns.
If you have not already done so, download or clone the course code repository on GitHub.
Remember to document everything on your blog.
Items you will need:

Arduino microcontroller 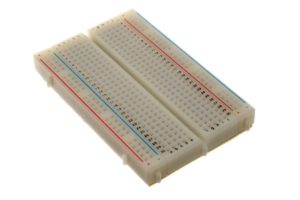
Breadboard 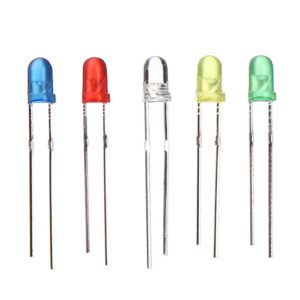
LEDs 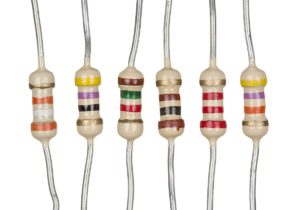
Resistors (220 – 1K) 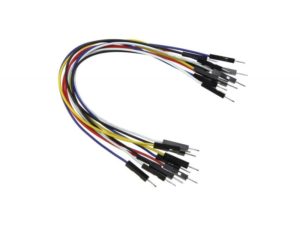
Jumper wires
Hello Microcontroller!
Part I:
Blinking an LED. “Hello World!” for Arduino
Steps and observations:
- Open your Arduino development environment and run the Blink example located in Arduino/Basics/Blink (Blink.ino)
- http://arduino.cc/en/Tutorial/Blink
- Read the code carefully
- Hook up the LED to the Arduino board as explained
- Upload the program from your computer to the Arduino
- Troubleshoot (if necessary)
Part II:
Now you will modify the blinking code.
Steps and observations:
- Change the rate at which the LED blinks
- Imagine a conceptual mapping of the on & off timing cycles (e.g. can they represent something: a language or secret code, the radio-wave emission pattens of a quasar, etc…)
- Upload the program from your computer to the Arduino
- Run the program
- Troubleshoot
Part III:
Experiment with ways of making the blinking behavior more complex.
Steps and observations:
- Modify the blinking code to control 2 LEDs
- Make it turn one on and the other off and then reverse which is on and off and loop
- You will need to use 2 separate pins so you will need to add those definitions to the program
- when you use an LED in any pin but digital 13 you will need to add a small resistor (220ohm – 1Kohm) in series with the LED
- Upload the program from your computer to the Arduino and run it
- Experiment with other blinking patterns & rates
Part IV:
Sequential LED blinking.
Steps and observations:
- Modify the blinking code to control 3 LEDs
- Make it turn each one on in sequence (turning off the others) so the light will appear to move down the line
- Upload the program from your computer to the Arduino and run it
- Try reversing the sequence
Part V:
Make an LED fade from dark to full bright and back using the built in Arduino examples.
There are times when you want to do more than just turn something on or off using the Arduino: for example, one may one to control the speed of a motor, or the brightness of a light. To do this we use the function: analogWrite(pin, ouptut) (where ‘pin’ is the pin number your actuator is connected to, and ‘output’ is a number from 0=off to 255=on). Executing the commend analogWrite(3, 127), for instance, would turn whatever is connected to pin 3 to 50% on. There is, however, something more subtle happening behind the scenes: the Arduino can only ouput 0V or 5V, so there is no true analog-continuous output built-in to most Arduinos. In order to get around this, the Arduino uses Pulse Width Modulation (PWM). You can think of PWM as turning the pin on and off really fast while varying the amount of on-time versus the off-time. This alters the effective voltage (so 50% on would effectively be 2.5V). The larger the on-time-percentage (also called the ‘duty-cycle’), the brighter an LED would be or the faster a motor would turn (check out the comments section for some examples).
Be careful when choosing pins to use PWM-capable pins (digital pins labeled with a “~”). Not all of the Arduino Uno’s pins can be used with the analogWrite function.
Steps and observations:
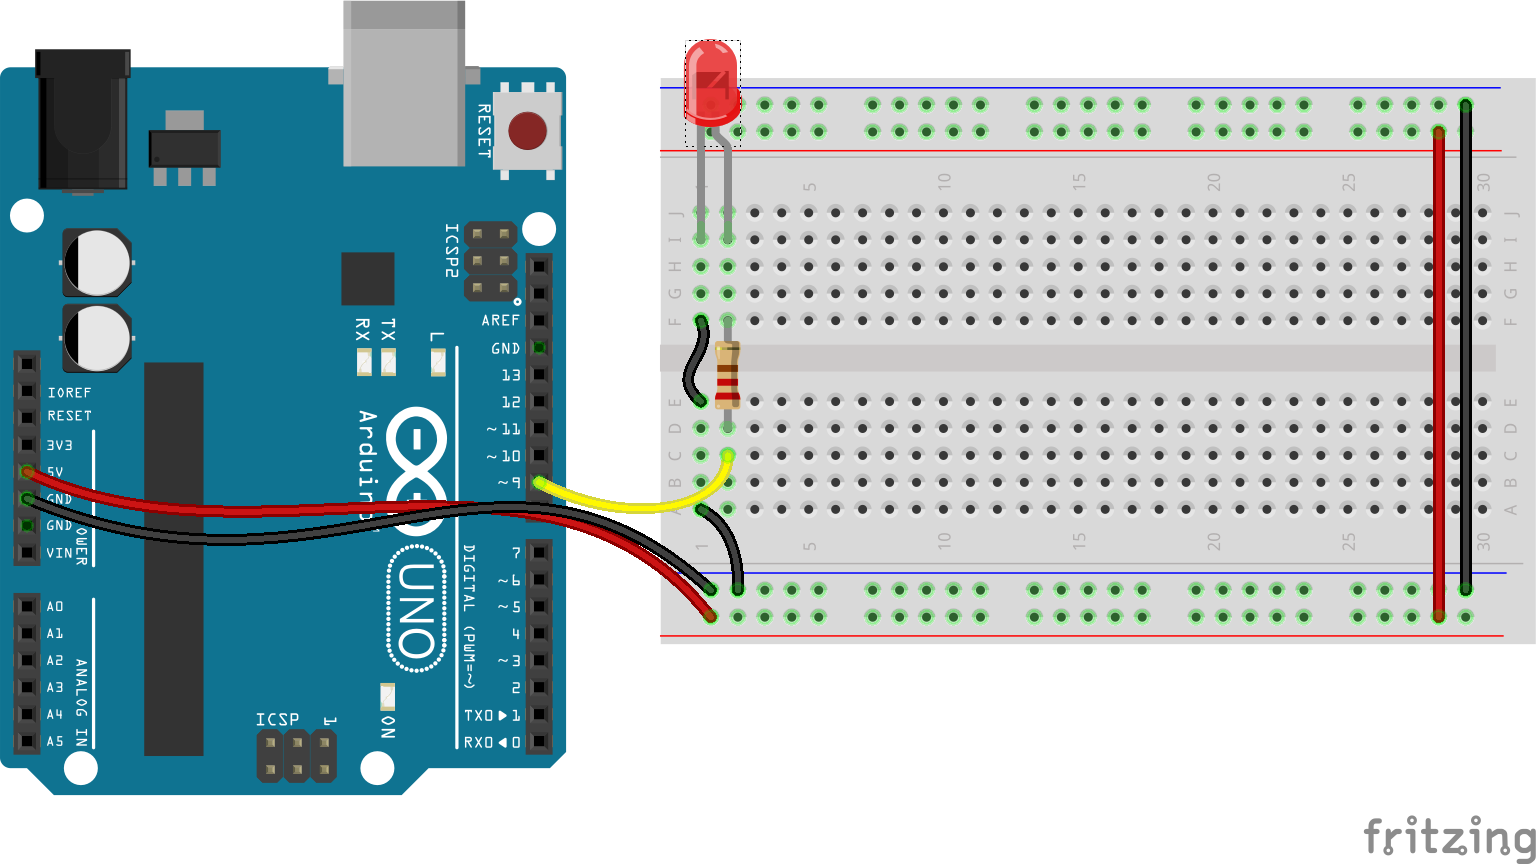
- Build the circuit below (any resistor between 220ohm & 1Kohm will work – 220 shown).
- Open the Fade sketch under File->Examples->01.Basics->Fade.
- Upload the sketch to your Arduino and watch the result.
- Experiment by changing the delay length and the fadeAmount variable.
Bonus
Can you repeat Parts I-V without using the delay() function? Hint: take a look at the millis() function.